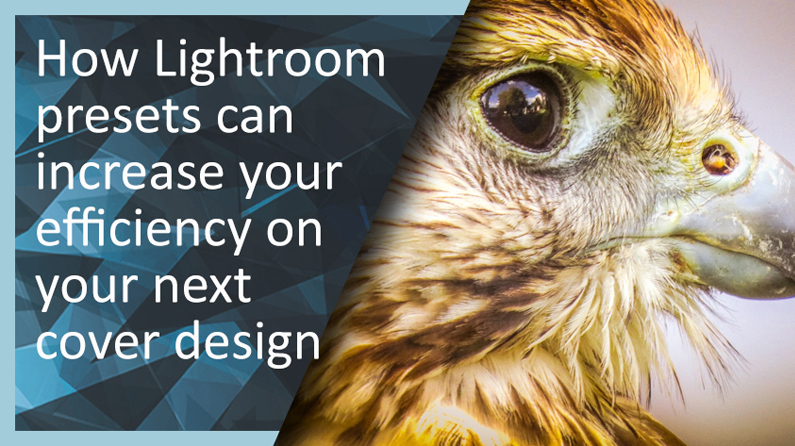
Can You Use Lightroom for Graphic Design
How to use Lightroom presets when designing
When we are designing a cover for an album, book, or whatever publication we plan to create, having the right tools is absolutely necessary in order to increase the efficiency of our workflow.
Lightroom provides users with the capacity of quickly editing their pictures in a non-destructive way, enhancing images with many appealing effects provided by Presets, as well as labeling images as part of the printing process. Through this guide, we are going to learn the basics of a quick edit in Lightroom, as well as printing management in order to increase the efficiency of your next cover design.
Image editing with Lightroom presets
In order to edit an image inside Lightroom we can choose one of two possible approaches:
- The traditional method of sliders and tools
- Presets
This is not to say that these methods can't be used alongside each other, as it is quite common to combine Lightroom tools with stunning looking presets for more advanced adjustments.
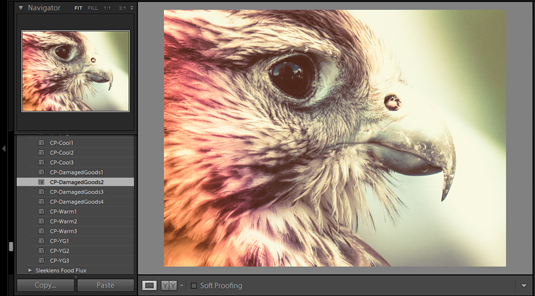
Let's suppose I want to use this picture of an eagle as my album cover.
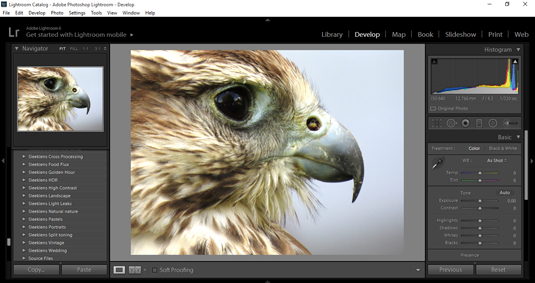
First of all, I need to adjust the White Balance of the picture by using the Sliders. You can also sample with the Dropper tool, if you happen to have a neutral grey area (a place where you can sample an equal R, G, B value colour).

Choosing a good set of presets is crucial at this point, if we plan to adjust the picture only with them. Designers like Sleeklens keep in mind the needs of photographers, giving us professional looking presets made for and by photographers.
The first step in working with presets is to define which category our work falls into. If we are designing the cover of a recipe book, we should look for food photography presets. If the aim is to create an exterior shot, then the range is quite varied, and you could use either landscape presets as well as many types of HDR, cross processing, etc, all of which would fit the bill.
For this image, I am going to use the Portrait preset bundle by Sleeklens, as this is a macro – or close-up – picture.
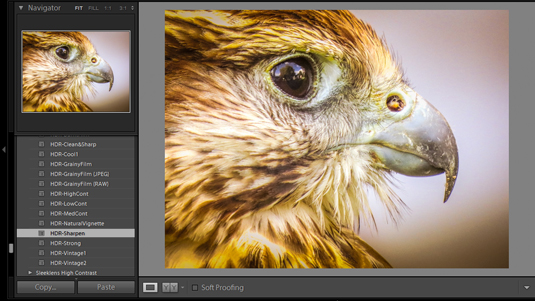
If, for instance, I decided to apply this BeachSun3 preset, the overall result will look like this picture below.
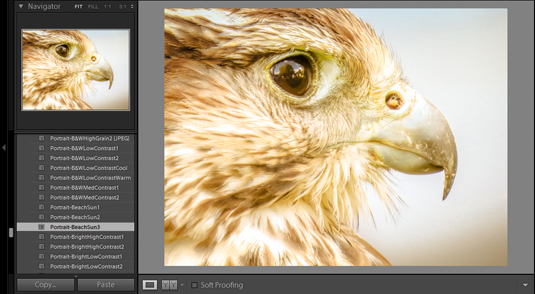
As you can see, not only does the picture look brighter with an increase in Exposure values, but also Blacks are reduced as well as Shadows, and the image sports an unmistakable gold tint.
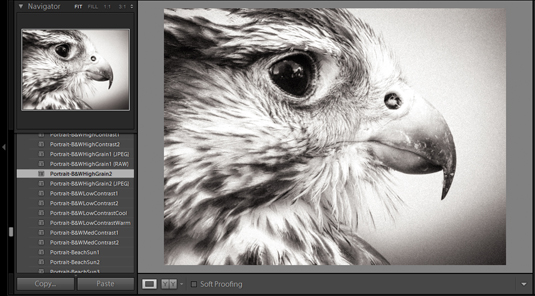
But what if I want to work with a Black and White picture? I simply need to select the proper B&W preset and let the magic flow.
Presets help us to completely change the feeling and message transmitted by an image in only a few seconds, becoming the best tool we can have inside Lightroom for our professional work.
But not everything is a fairytale with Presets: they need to be high quality in order to ensure that our photography work is not damaged as a result of using them. For example, a good preset needs to work without adding extra film grain to the image, otherwise the result in large printing formats would be unacceptable for the public. This obviously doesn't mean we can't add film grain via presets to our images, but this effect should be used only when the user requires it, rather than being applied without the consent of the user.
Presets can also emulate such feelings like a summer colour or a warm autumn scene…

…as well as reproducing the effect of a damaged lens for creating interesting artistic effects…
…not to mention HDRs or classical themes such as Sepia tints.
As you can see, the sky is the limit when we work with presets, wherefore you can quickly change the conditions in the image with which you are working in only a few seconds, rather than spending a great deal of time adjusting color inside of Photoshop with several layers, or requiring Plugins and Actions for creating similar effects.
Further enhancements in the printing process
When the post-processing on the image is done, we need to switch our workflow to the export method. In case we want to design a cover, it is advisable either to work with the Print module or the Book module. Do keep in mind that with the Book module, we are going to get a PDF file, which may result in further complications in terms of possible post-production in other software.
In my case, I am going to stick to working with the Print module and use the tools provided for completing the task.
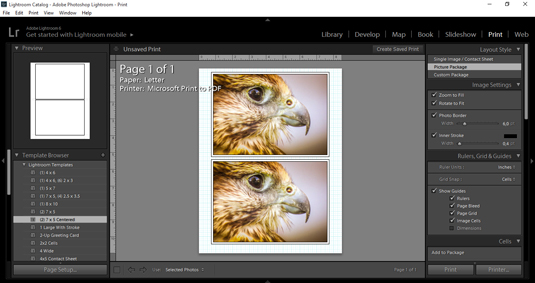
In the left panel, we find the options for previewing the design of the printing sheet, as well as several options for printing templates with the most common sizes available on market.
At the right panel, several tabs provide different tools meant for the workflow of the printing process. For us designers, the most important tabs may be the ones regarding Rulers and Grids, the Page tab for the Watermarking properties and the Print Job tab for both Color Management properties and print output (to printer or to JPEG image).
One thing to keep in mind is that unlike the Book module, you can't actually add text while working in this module. This establishes a complication in the processing of our images, even though you can work with the Slideshow or Book module prior to switching to the print module, work with an image that already has the text required embedded on it, or print to JPEG and then use Photoshop/Illustrator to work with the output file.
The key point when using Adobe Lightroom for increasing your efficiency is the ability to completely retouch the image in only a few minutes, which is possible thanks to Lightroom Presets. Another key point is the fact that Lightroom works in a non-destructive way, allowing us to have several virtual copies of the same file, a feature that makes it possible to test different scenarios for managing our work the best way possible, without needing to save from time to time in order to keep the original file in place.
Do yourself a favour and start including Lightroom in your day-to-day workflow. You will end up loving Adobe Lightroom for its ease of use, the versatility of its tools, and the fact that it doesn't short-circuit the creativity process, quite the opposite, it helps us to become better designers.
Words: Jane Grates
Jane is the co-founder of Sleeklens and she specializes in portrait and landscape photography. During her career, she has travelled all over the world and new decided to settle down in California. You can find Sleeklens on YouTube and Facebook.
Liked this? Read these!
- Photographers to follow on Instagram
- Photographers to follow on Behance
- Beautiful travel posters
Related articles
Can You Use Lightroom for Graphic Design
Source: https://www.creativebloq.com/photography/use-lightroom-presets-when-designing-91516828